How to Remove an Airlock from a Radiator
You've bled the radiator. You've checked the TRV isn't stuck. You've opened the lock shield. The rest of the house is hot but this one radiator — or a whole string of them — is still stone cold. If you've tried everything from our radiator not working guide and it's still not playing ball, you've probably got an airlock. Here's how to purge it.
What's an Airlock and Why Bleeding Doesn't Fix It
A normal air pocket sits at the top of the radiator. You open the bleed valve, the air hisses out, water follows, and the radiator fills up. Simple.
An airlock is different. It's a pocket of trapped air sitting in the pipework feeding the radiator — not in the radiator itself. It's stuck in a loop or a high point in the pipe run, and the system's circulation pressure isn't strong enough to push it through. The tiny bleed valve on the radiator can't shift it because the air isn't at the top of the radiator — it's blocking the pipe before the water even gets there.
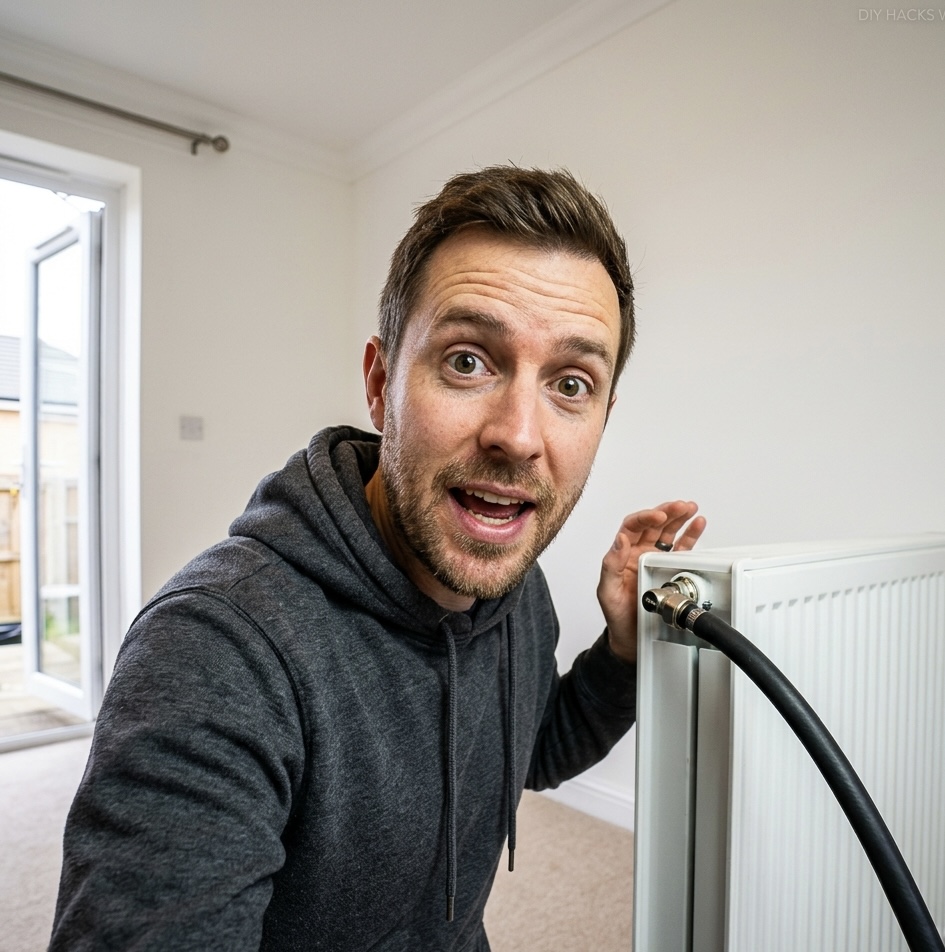
To clear it, you need to force a large volume of water through the radiator at a higher flow rate than the bleed valve allows. That means taking the bleed valve out entirely and using a hose to create a much bigger opening for the air to escape through.
Try the basics first
This method works, but it's a step up from basic bleeding. Before you do this, make sure you've tried: opening the lock shield fully, bleeding the radiator with the pump off, and freeing any stuck TRV pins. Those three fixes solve 90% of cold radiator problems. This guide is for the stubborn 10% that won't respond to anything else. See our radiator not working guide for those checks.
What You Need
Tools and materials
- A hose with a half-inch male thread fitting — standard 15mm to half-inch hose connector. Available at any plumbing or garden supplies.
- PTFE tape — to seal the hose connection into the bleed hole.
- A radiator bleed key
- A small container and cloth — to catch water when swapping the bleed nipple for the hose.
- A jubilee clip (optional) — to secure the hose connection if it feels loose.
- Access to outside — the other end of the hose goes out a window or door to drain.
Before You Start
There are a few things to set up before you open anything:
- Turn off the heating system. Boiler off, pump off. You don't want the system circulating while you're purging — you want static pressure pushing through the radiator, not pump pressure fighting you.
- Latch open any motorised valves. If your system has two-port or three-port zone valves, find the manual lever on each one and latch it open. This ensures water can flow freely through the entire system without waiting for the valve to be called by the thermostat.
- Check system pressure. On a pressurised (combi/system boiler) system, make sure the gauge reads 1–1.5 bar. If it's low, top it up via the filling loop first. On a tank-fed system, check that the ball valve in the loft tank drops freely and the tank is full — sometimes the ball valve gets stuck in the up position and the tank runs dry.
- Close both valves on the radiator. Shut the TRV (turn to zero or off) and close the lock shield. The radiator is now isolated from the system.
The Purge: Step by Step
Step 1: Drain residual pressure from the radiator
With both valves closed, open the bleed valve and let any remaining pressure drain into your container. Once the hissing stops and the water trickles to nothing, close the bleed valve.
Step 2: Swap the bleed nipple for the hose
This is the part that needs to be quick. You're removing the small bleed nipple and threading the hose connector in its place. Both valves are closed, so there's no pressure — but have a cloth ready for the small amount of water that'll dribble out when the nipple comes out.
- Wrap a few turns of PTFE tape around the hose connector thread.
- Unscrew the bleed nipple with your bleed key. Have the hose connector ready in your other hand.
- As soon as the nipple is out, thread the hose connector into the hole. It should screw in by hand. Snug it up — it doesn't need to be pipe-wrench tight.
- If the connection feels loose, put a jubilee clip around the hose and the fitting for extra security.
- Run the other end of the hose outside through a window or door.
Step 3: Purge the flow side
Open the valve on the flow side of the radiator (usually the TRV end). Water from the heating system will push through the radiator and out through the hose. You'll hear air blasting out of the hose outside — that's the airlock clearing.
Keep it running until the flow is steady water with no air bubbles. If the heating has been on recently, the water coming through should be warm — as soon as you feel heat, the airlock is clear on that side. Close the valve.
Step 4: Purge the return side
Now close the flow valve and open the lock shield (return side). Same process — let water and air push through the hose until you get a steady, air-free flow. Close the valve when done.
Step 5: Reconnect the bleed nipple
Close both valves. The pressure in the hose will dissipate on its own through the open end outside. Unscrew the hose connector and thread the original bleed nipple back in. Tighten it gently with the bleed key.
Step 6: Open both valves and test
Open the TRV and lock shield back to their previous positions. Turn the heating on. The radiator should start warming up within a few minutes. Give it a normal bleed from the bleed valve to release any small air pocket that's collected at the top during the purge — this is standard post-work bleeding, not the airlock.
After the Purge
A few things to check and do once the radiator is running again:
- Top up the system. You've drained water through the hose, so the system pressure will have dropped. On a pressurised system, top up via the filling loop to 1–1.5 bar. On a tank-fed system, listen for the ball valve in the loft refilling the tank — it should do this automatically.
- Unlatch any motorised valves you opened manually. If you leave them latched, the zone controls won't work properly.
- Check the rest of the system. Make sure other radiators are still heating and the boiler isn't showing any error codes. Purging one radiator can sometimes disturb air in adjacent radiators, so bleed any that feel cold at the top.
Why the Airlock Happened in the First Place
Clearing the airlock fixes the immediate problem, but it's worth understanding why it formed so you can prevent it coming back:
- Low inhibitor. When there isn't enough corrosion inhibitor in the system, the water reacts with the steel inside radiators and creates hydrogen gas. This gas accumulates and forms airlocks, especially in high points of the pipework. If you're getting recurring airlocks, the system almost certainly needs an inhibitor top-up — or a full power flush if it's been neglected.
- Automatic air vent sucking air in. If the AAV is positioned too close to the suction side of the pump, the negative pressure can actually draw air into the system through the vent instead of letting it out. This is an installation issue that needs the AAV repositioned.
- Expansion pipe on the wrong side of the pump. On open-vented systems, if the expansion pipe connection is on the discharge side of the pump rather than the suction side, the pump can push water up the expansion pipe and draw air in through the vent. You can sometimes feel this by putting your thumb over the open end of the expansion pipe — if it sucks, it's on the wrong side.
- Pump speed too high. An oversized pump or one set to a speed that's too high for the system can cause cavitation — the impeller spins fast enough to separate dissolved gas from the water, creating air bubbles that accumulate as airlocks. Turning the pump speed down one setting often fixes recurring airlock problems.
If airlocks keep coming back despite purging, the system has an underlying issue that needs diagnosing. One-off airlocks after drain-down or repair work are normal. Recurring airlocks every few weeks are not.