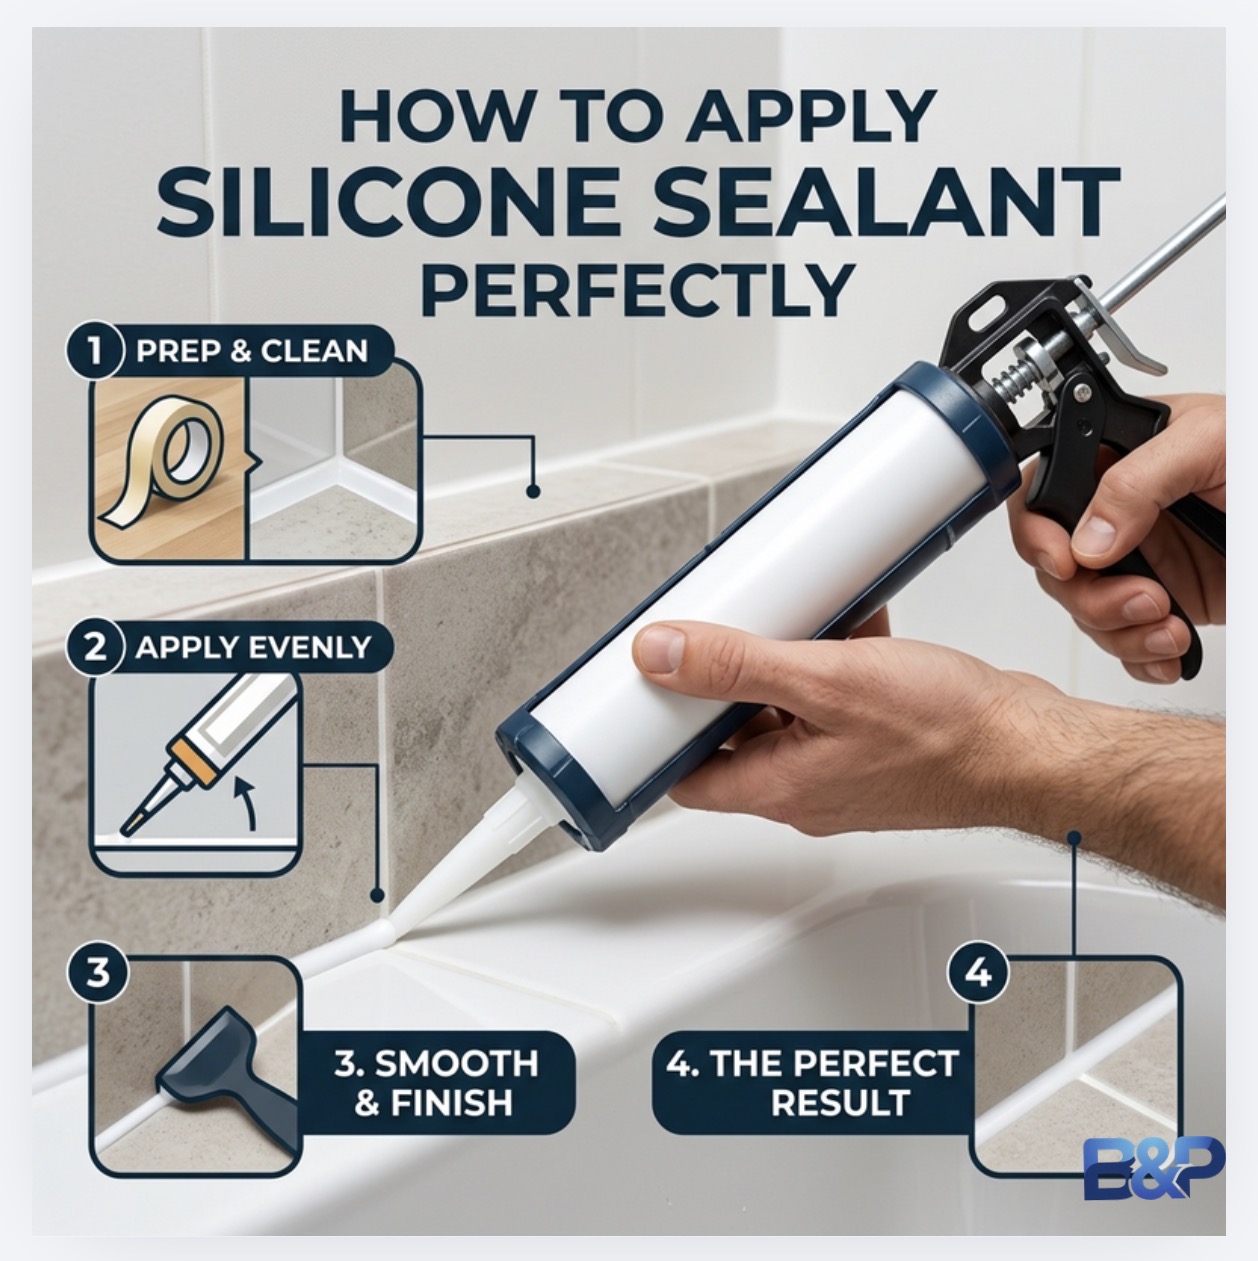
How to Apply Silicone Sealant Perfectly: 10 Mistakes to Avoid
A bad silicone seal ruins an otherwise good bathroom. It looks awful, it goes mouldy within months, and eventually it leaks. The thing is, silicone isn't hard to apply well — most people just make the same handful of mistakes. Here are the ten most common ones and how to avoid every single one of them.
1. Siliconing at the Wrong Time
This is the most basic mistake and the most costly. You apply a beautiful bead of silicone, smooth it off perfectly, and then carry on working in the same room. You knock a tile against it. You drop a tool on it. You brush past it reaching for something on the shelf. The bead is ruined and you have to strip it out and start again.
Silicone should be the last thing you do before you leave the room. Not the last thing before lunch. Not the last thing before you start grouting. The actual last job of the day. Once it's down, you walk out, close the door, and don't touch anything near it until it's cured.
2. Not Cleaning the Area First
Silicone sticks to clean, dry surfaces. Dust, grout residue, tile adhesive, and old sealant fragments all prevent it from bonding properly. If there's debris in the joint, you'll get lumps in the bead and gaps in the seal.
How to prep properly
- Hoover the joint. A brush moves dust around — a vacuum removes it. Get the nozzle right into the corner where the two surfaces meet. This is where grit and grout dust collect.
- Remove all old silicone. A sharp Stanley knife or window knife is the best tool for this. Run the blade along both edges to cut the old sealant free, then pull it out in strips. Those hooked silicone removal tools exist but they rarely get a clean result — a sharp blade is faster and more precise.
- Clean with a silicone remover. After stripping the old sealant, wipe the joint down with a silicone remover or solvent cleaner. This dissolves any residue left behind and gives the new silicone a clean surface to bond to. Let it evaporate fully before applying.
- Wipe above the joint too. If there's adhesive residue or dust on the wall above where you're working, it can fall onto your wet bead while you're smoothing. Give the area above a wipe-down before you start.
3. Not Drying the Joint Properly
Water and silicone don't mix. If there's moisture sitting in the joint when you apply the sealant, two things happen: it won't bond to the surface properly, and it won't smooth cleanly. You'll end up with a bead that looks fine on day one and peels away within weeks.
After cleaning, take a strip of kitchen roll or toilet paper and press it right into the corner of the joint. Leave it there for a few minutes to wick out any moisture. On a shower tray or bath edge where water collects in the gap, you might need to do this two or three times.
The patience test
If you can't wait five minutes for a joint to dry, you'll definitely struggle with the 24-hour cure time. Silicone rewards patience at every stage. Rushing the prep is the single biggest reason DIY sealant jobs fail.
4. Cutting the Nozzle at the Wrong Angle
This sounds trivial but it affects the entire bead. Most people cut the nozzle at a steep 45-degree angle. That works for some situations, but for the typical bathroom seal — a neat line where tiles meet a bath or shower tray — a shallower angle gives you much more control.
How to cut it
- Use a sharp Stanley knife, not scissors. You want a clean cut, not a crushed one.
- Cut at roughly 30 degrees rather than 45. This gives a slightly wider, flatter opening that lays the silicone down more evenly.
- Match the size of the cut to the gap you're filling. Small gap = cut closer to the tip. Large gap = cut further back for a wider opening.
- Clean up any burrs or whiskers on the cut edge with the knife. A ragged nozzle leaves a ragged bead.
If you're filling a gap wider than about 5mm, consider doing it in two passes: a first bead pushed deep into the gap, left to cure for 24 hours, then a finishing bead over the top for the neat visible seal. Trying to fill a deep gap in one pass usually ends badly.
The gun matters too
If you're using a gun where the plunger arm extends out the back as you squeeze, it gets in the way — especially in tight corners. A rotating barrel gun or a ratchet gun with a short throw is much easier to control. Look for one with adjustable speed (a shorter plunger stroke means less silicone per squeeze, which gives you finer control).
5. Not Purging Air from the Gun
There's always a pocket of air in the nozzle and sometimes in the tube itself. If you start your bead without purging it, you'll get a sudden splutter of air mid-run that blows a hole in your bead. It's infuriating and it always happens right in the most visible spot.
Before you start the actual seal, squeeze out a couple of inches of silicone onto a piece of card or an offcut of tile. Keep going until it flows smoothly with no air bubbles. This is also a good chance to check the flow rate and get your hand used to the pressure before you're on the real thing.
Do a test bead
If you've got a spare tile or offcut, run a practice bead on it. Test your speed, test your angle, test the flow. It takes 30 seconds and silicone cleans off tiles easily with a solvent wipe before it cures. Much better to get your rhythm on a practice piece than to discover it halfway through your shower tray.
6. Going Too Fast or Too Slow
Speed is where most people struggle, and it goes wrong in both directions.
Too fast
The silicone can't keep up with your hand. You get a thin, gappy bead with breaks in it. You'll have to go back over it to fill the gaps, which doubles the mess and makes smoothing much harder. The finished result always looks patchy.
Too slow
Too much silicone comes out. You end up with a fat, bulging bead that wastes product and is harder to smooth cleanly. When you profile it, you'll push excess silicone onto the tile and bath surfaces, creating more cleanup work.
The right speed
Start at the far end of the joint. Squeeze the trigger gently and wait for the silicone to appear at the nozzle before you start moving. Then draw the gun towards you at a steady, consistent pace — roughly the speed you'd run your finger along a shelf to check for dust. The bead should lay down as a continuous, even line with no gaps and no excess. If you see gaps, slow down slightly. If it's building up, speed up.
7. Using Fairy Liquid to Smooth It
This is the one you'll see recommended everywhere online. Mix fairy liquid with water in a spray bottle, spray it on the joint before and after applying silicone, and use your finger to smooth it. It's been passed around as gospel for years.
Don't do it.
Here's why: the surfactant in washing-up liquid interferes with the silicone's ability to bond to the surface. It creates a slippery layer between the sealant and the tile or bath. Short term, it looks fine. Long term, the silicone peels away because it never properly adhered in the first place. You also introduce moisture and soap into the seal, which is exactly the environment mould loves.
What to use instead
A silicone profiling tool. These are cheap plastic or rubber profiles that come in different bead sizes. You press the tool into the wet silicone and draw it along the joint in one smooth pass. It leaves a clean, consistent concave profile with no finger marks, no fairy liquid, and a proper bond to both surfaces. One tool, one pass, done.
8. Smoothing with Your Finger
Even without fairy liquid, smoothing silicone with your finger is a poor method. Your finger is soft, warm, and uneven. The silicone sticks to it, drags, and leaves an inconsistent finish. You end up with ridges, thin spots, and excess sealant pushed onto the surrounding surfaces.
Profiling tools solve this completely. They come in sets with different curve sizes — typically 5mm, 8mm, 10mm, and 16mm. For most bathroom joints, the 8mm or 10mm profile is right. For a neat, thin seal where tiles butt tightly together, the 5mm is ideal.
To use one: press the profiling tool firmly into one end of the wet bead, then draw it smoothly along the entire length of the joint in one continuous pass. Don't stop halfway. Don't go back over it. One pass, start to finish.
Choosing the right silicone
This matters more than most people think. For bathrooms, showers, and anywhere that gets wet, always use a mould-resistant sanitary silicone. It'll say "mould resistant" or "anti-mould" on the tube. Standard silicone doesn't have the fungicide built in and will go black within months in a damp bathroom.
For areas that need structural grip as well as a seal — like sticking a shower panel to a wall — use a hybrid sealant/adhesive. But for the visible seal around a bath, shower tray, basin, or worktop, sanitary silicone is what you want.
9. Not Cleaning Your Tools
Once you've finished a beautiful seal, the temptation is to put everything down and admire it. Meanwhile, the profiling tool is sitting there with wet silicone drying onto it. By tomorrow, that silicone is cured and you'll spend longer picking it off the tool than you spent doing the seal.
Clean your tools immediately. A squirt of silicone remover and a wipe with a cloth takes ten seconds. The profiling tool goes back in the kit clean and ready for next time. Same goes for the gun nozzle — wipe the tip clean so it doesn't dry shut.
10. Touching It Before It Cures
This is mistake number one coming back to haunt you. You've done a perfect seal. It's smooth, it's even, it looks great. Then you lean in to inspect it and brush against it with your sleeve. Or you're packing up tools and a spanner rolls against it. Or a family member opens the bathroom door to see how it's going.
Silicone takes around 24 hours to fully cure. During that time, it's vulnerable to any contact. A single touch dents the surface, breaks the seal line, and once it's deformed, the only fix is to strip it out and start again.
The golden rule
Silicone is the last job. Once it's done, leave the room. Don't go back in to clean up, don't rearrange tools, don't show anyone how good it looks. Just walk away and let it cure. If you've done everything else in this guide right, it'll still look perfect tomorrow.
If you do accidentally dent or damage a wet bead, all is not lost. Clean the damaged section off completely using a solvent and a sharp blade. Let the area dry. Then reapply silicone to just that section and profile it again. It's better to redo a small area than to try to patch a dent — patching always shows.
Summary: The Right Order
If you follow this sequence, you'll get a clean, watertight, mould-resistant seal every time:
- Remove all old silicone with a sharp blade
- Hoover the joint and surrounding area
- Clean with silicone remover — including above the joint
- Dry the joint thoroughly with kitchen roll
- Cut the nozzle at 30 degrees, matched to the gap size
- Purge air from the gun onto a test surface
- Apply the bead at a steady, consistent speed
- Profile with a silicone tool in one smooth pass
- Clean your tools immediately
- Leave the room and don't touch it for 24 hours
That's it. No fairy liquid, no finger smoothing, no going back over it. Ten steps, one pass, and a seal that'll stay watertight and mould-free for years.