How to Replace an Electric Shower
Swapping an old electric shower for a new one is one of those jobs that looks intimidating but is actually quite straightforward — as long as you're replacing like for like. The water supply is already there, the electrical cable is already there, and most modern electric showers are designed with adjustable inlets to make replacements easier. Here's the full process.
Electrical safety — read this first
Electric showers run on a dedicated high-amperage circuit (typically 40A or 45A). If you're not confident working with electrical connections, do not do this job yourself. Get a qualified electrician or a plumber who's Part P certified to handle the electrical side. The plumbing is simple — the electrics are where the risk is. Any new electrical work in a bathroom must comply with Building Regulations Part P and may need to be signed off.
Isolate the Electrics and Water
Two things need isolating, and the electrics come first. Always.
Electrics
- Turn off the shower isolator switch (the pull cord or wall switch near the shower). This is not enough on its own.
- Go to the consumer unit (fuse board) and switch off the dedicated shower circuit breaker. If it's an older board with rewireable fuses, pull the fuse out entirely.
- Put a note on the consumer unit so nobody switches it back on while you're working.
- Once the shower cover is off, use a voltage tester on the live terminal to confirm the supply is dead. Do not skip this step. Isolator switches can fail, breakers can be mislabelled. Test, don't trust.
Water
Electric showers are fed from the cold mains supply. Turn off the water at the stopcock (usually under the kitchen sink). Once it's off, open a cold tap downstairs to vent the pressure from the pipe. This stops water gushing out when you disconnect the supply from the old shower.
Remove the Old Shower
- Remove the front cover. Most electric showers have two or four screws holding the cover on — sometimes hidden behind a clip-off fascia panel. The screws are usually Phillips or Torx. Once the screws are out, the cover lifts or slides off.
- Verify the supply is dead. Touch your voltage tester to the live terminal inside the shower. If it lights up, stop immediately — something isn't isolated properly.
- Disconnect the electrical cables. Note which wire goes where (take a photo if it helps). Loosen the terminal screws and remove the wires. Earth first is good practice when reconnecting, but when disconnecting, live first is safer — remove the live wire first, then neutral, then earth.
- Disconnect the water supply. Undo the compression nut or push-fit connector where the cold supply pipe enters the shower. Have a cloth underneath — there will be residual water in the pipe even with the mains turned off.
- Remove the wall fixings. Undo the screws holding the back plate to the wall. The whole unit should now lift away.
You'll be left with a pipe sticking out of the wall (or up from the floor) and an electrical cable. Check the condition of both. If the cable sheath is damaged or the pipe is corroded, deal with that before fitting the new unit.
Position the New Shower
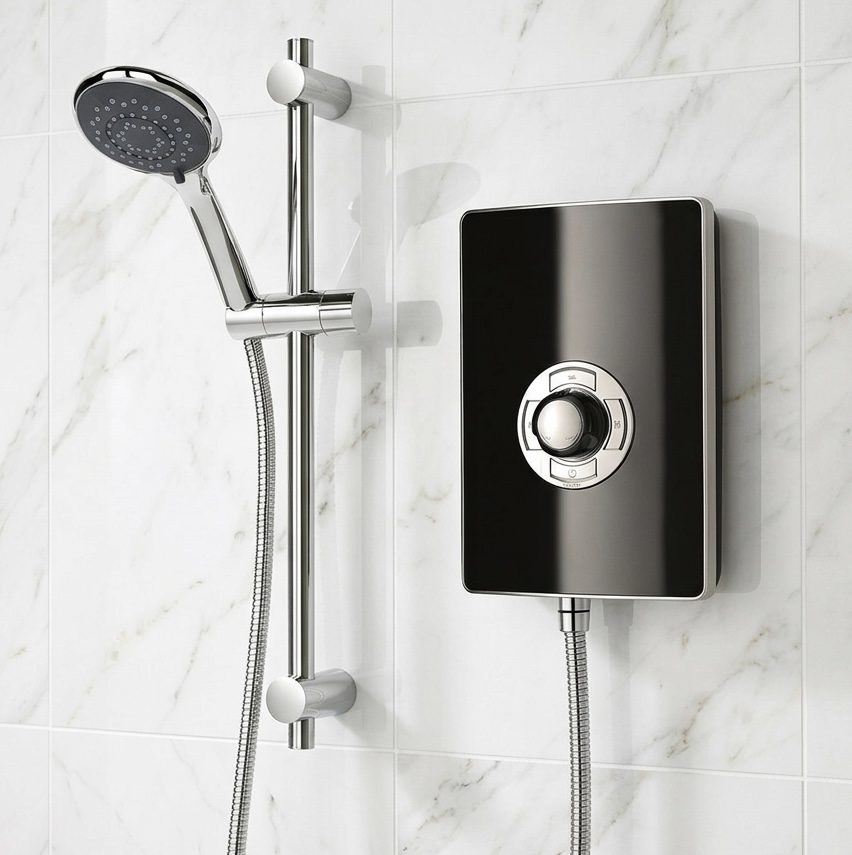
Modern electric showers are designed to be universal replacements. Most have multiple knockout points for the water inlet (left, right, bottom, rear) and the cable entry, so you can match whatever position the old shower used.
- Unpack the new shower and identify which inlet position matches your existing pipe. Knock out the appropriate blanking plug and fit the inlet elbow or connector in the correct orientation.
- Hold the back plate against the wall in the position you want it. Line up the water inlet with the existing pipe and the cable entry with the existing cable.
- Check it's level. Use a spirit level across the top of the unit.
- Mark the screw hole positions through the back plate onto the wall.
- Drill and plug the wall. Use the correct fixings for your wall type — masonry plugs for tile and brick, plasterboard fixings for stud walls.
- Screw the back plate to the wall.
Covering old screw holes
The new shower almost certainly won't line up with the old screw holes. If the old holes are visible around the edges of the new unit, fill them with a dab of white silicone or a matching tile repair filler before fitting the new unit. Most new showers are slightly larger than the model they're replacing, so the old holes are usually hidden anyway — but check before you commit to a position.
Connect the Water Supply
The water connection on an electric shower is straightforward — it's a single cold mains feed, usually 15mm copper pipe, connecting to the inlet on the shower unit via a compression fitting.
- Check that the pipe reaches the new shower's inlet. If the inlet position has moved slightly, you may need a short extension piece or an elbow to bridge the gap.
- Connect the pipe to the shower inlet using the compression fitting or connector supplied with the shower. Tighten with a spanner — don't overtighten.
- Before reconnecting the electrics, turn the water back on and check for leaks at the connection. It's much easier to fix a dripping compression fitting with the cover off and the power disconnected.
Reconnect the Electrics
If in doubt, stop here
The plumbing is done. If you're not qualified or confident to work on the electrical connections, this is where you call an electrician. They'll reconnect the cable, test the circuit, and sign it off. It's a 20-minute job for a sparky and it means your installation is compliant and safe.
If you are doing the electrics yourself (like-for-like replacement on an existing circuit):
- Check that the existing cable is suitable for the new shower's kilowatt rating. A 7.5kW–8.5kW shower typically runs on a 6mm² cable with a 40A breaker. A 9.5kW–10.5kW shower needs 10mm² cable with a 45A breaker. If the new shower draws more power than the old one, the cable and breaker may need upgrading — that's an electrician's job.
- Strip the cable sheath and wire insulation to the lengths specified in the shower's instructions.
- Connect the wires to the correct terminals: earth (green/yellow) first, then neutral (blue), then live (brown). Tighten each terminal screw firmly — a loose connection generates heat and is a fire risk.
- Make sure no bare copper is visible outside the terminals. The cable clamp should grip the outer sheath, not the individual wires.
- Do not turn the power on yet.
Test and Commission
- Double-check all connections — water and electrical.
- Fit the front cover and secure it with the screws provided.
- Fit the shower hose, head, and riser rail.
- Turn the circuit breaker back on at the consumer unit.
- Switch on the shower isolator.
- Turn the shower on. Water should flow immediately. Check the temperature responds to the controls. Follow the manufacturer's commissioning instructions — some showers need a specific first-run procedure.
- Check for leaks one more time, inside the unit if possible (some covers can be lifted briefly), and around the pipe entry.
Tips for a Clean Swap
- Buy the same brand if you can. Same-brand replacements are more likely to have matching pipe and cable entry positions, which means less adaptation work. Triton to Triton, Mira to Mira, etc.
- Check the kilowatt rating. If you're upgrading from an 8.5kW to a 10.5kW shower, the existing cable might not be thick enough. Check before you buy — upgrading the cable is a significant extra job.
- Seal around the pipe entry. Where the pipe enters through the wall, apply silicone sealant around the gap on both sides. This stops damp getting into the wall cavity.
- Don't reuse old compression olives. If the existing pipe connection had a compression olive, the new shower might not line up exactly. If you need to remake the joint, use a new olive — reused olives rarely seal as well second time around.
- Take a photo before disconnecting. Photograph the wire positions in the old shower before you disconnect them. It takes two seconds and removes all guesswork when reconnecting.