How to Flush a Heating System Using Your Outside Tap
If your radiators have cold spots at the bottom, your boiler makes banging or kettling noises, or the water that comes out when you bleed a radiator is black rather than clear, your system has sludge. A mains water flush using your outside tap is a straightforward DIY fix that can transform how your heating performs — and it doesn’t require any chemicals or specialist equipment.
Why Your Heating System Needs Flushing
Over time, the inside of your radiators and pipes corrode. Iron oxide (rust) mixes with the water and settles as a thick black sludge at the bottom of radiators. In hard water areas like Cambridgeshire, you also get limescale building up inside the boiler heat exchanger and on pipe walls.
The effects are cumulative:
- Cold spots on radiators — sludge settles at the bottom, blocking water flow. The top of the radiator is hot but the bottom is cold to the touch.
- Noisy boiler — kettling (rumbling or banging sounds) happens when limescale and sludge restrict flow through the heat exchanger, causing localised boiling.
- Higher energy bills — restricted flow means the boiler works harder to circulate heat. The system runs longer to reach temperature.
- Pump failure — sludge is abrasive. It wears out pump bearings and can seize the impeller.
- Boiler breakdown — a blocked heat exchanger is one of the most common causes of boiler failure. The replacement cost dwarfs the effort of a flush.
Building a DIY Flush Kit
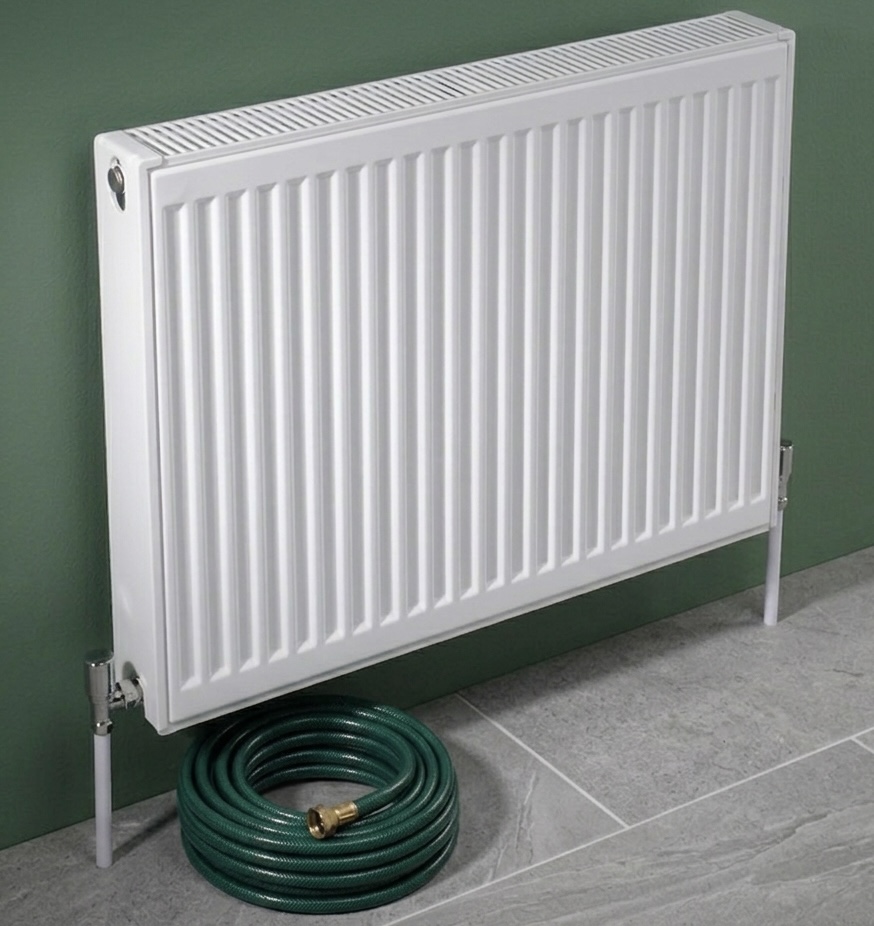
The principle is simple: connect your outside tap (mains pressure cold water) to one side of a radiator valve, and run a drain hose from the other side to an outside drain. Mains water pushes through the radiator and out, carrying the sludge with it. You do this one radiator at a time.
You need a way to get from a garden hose fitting onto radiator valve tails. Here’s a basic kit:
DIY flush kit parts
- Two lengths of garden hose with hose lock connectors — one for the supply (from outside tap), one for the drain (to outside gully or drain).
- Two radiator valve tails (spare lock shield tails) — these thread into the radiator where the valve normally sits. You then connect hose fittings onto the other end.
- Female iron adapters — to adapt from the valve tail thread to your hose lock or copper fittings.
- Hose lock drain-off adapters — these let you click a standard garden hose onto the end of your adapter assembly. Alternatively, a short piece of copper pipe with a jubilee clip onto the hose works fine.
- An isolation valve on the supply side — gives you a quick shut-off at the radiator end without running outside to turn off the tap.
- A pressure reducing valve (recommended) — set to 1 bar. Your mains supply could be 3–5 bar, which is more than a heating system is designed for. The PRV limits the pressure to a safe level.
The assembly doesn’t need to be perfect. You’re not plumbing a permanent installation — you just need a watertight path from hose to radiator tail. Thread sealant (PTFE tape or Loctite 55) on every threaded joint and you’ll be fine.
Why the pressure reducing valve matters
If you accidentally close both ends of the system while mains pressure is flowing in, you could pressurise the heating system well beyond its design limit (typically 1–1.5 bar for a sealed system). A PRV set to 1 bar eliminates this risk. It’s a cheap safety measure and well worth including in the kit. In practice, you’ll always have the drain end open, but mistakes happen — especially when you’re going back and forth between rooms.
Preparation — Isolate the Boiler, Close the Valves
Before you connect anything:
- Turn off the boiler. You don’t want the boiler firing or the pump running while you’re pushing mains water through the system. Switch it off at the programmer or thermostat. For extra safety, isolate the electrical supply to the boiler as well.
- Close every radiator valve in the house. Both sides — the TRV (or wheel head) and the lock shield. You’ll open them one at a time during the flush.
- Drain the radiator you’re starting with. Close both valves on the radiator, open the bleed valve at the top. If water stops flowing from the bleed valve, the valves are holding and the radiator is isolated from the rest of the system. Then crack open one of the valve nuts to drain the radiator into a bowl or tray.
The goal is to keep the rest of the system full while you work on one radiator at a time. This avoids a full system drain-down and makes the refill much faster at the end.
Flushing Through the System
Once the first radiator is drained and its valves are disconnected:
- Connect the supply hose to one side of the radiator valve tail (it doesn’t matter which side). Connect the drain hose to the other side.
- Run the drain hose outside to a gully, drain, or onto a surface that can handle dirty water. The water coming out will be black — don’t drain it onto anything you care about.
- Turn on the outside tap. Water will flow in through the supply hose, through the radiator valve tail, into the heating pipework, and out through the drain hose on the other side.
- Open one radiator at a time. With all other valves closed, open both valves on one specific radiator. Mains water will push through that radiator and come out the drain end. You’ll see the water go from black to grey to clear.
- Give each radiator 2–3 minutes of flushing until the drain water runs reasonably clear.
- Close that radiator’s valves, open the next one. Repeat for every radiator in the house.
Swap the flow direction
Once you’ve flushed all radiators in one direction, swap the supply and drain hoses and flush them all again in reverse. Sludge settles on the bottom of radiators and in low points of the pipework — reversing the flow direction dislodges deposits that the first pass pushed against rather than through.
A thermal imaging camera is genuinely useful during this process if you have access to one — you can see exactly where water is flowing and where it isn’t. But it’s not essential. Listening for water flow and checking the drain output colour tells you most of what you need to know.
Flushing Individual Radiators
For radiators that are particularly sludged up, it’s worth removing them from the wall entirely and flushing them individually with a hose connected directly through the valve tails.
- Close both valves and drain the radiator via the bleed valve and a cracked union nut.
- Disconnect both valve nuts and lift the radiator off its brackets. Carry it outside (it will still have some dirty water inside — tilt carefully).
- Connect a hose to one valve tail. The other end is open — just point it at a drain.
- Turn on the tap and let mains water blast through until the output runs clear. Tilt and rotate the radiator to dislodge any sludge sitting in the bottom channels.
- Swap ends and repeat.
- Refit the radiator on its brackets, reconnect the valve unions, and bleed it once the system is refilled.
This is the most effective way to clear a badly sludged radiator. The direct mains pressure through the narrow channels shifts deposits that a system-level flush can’t always move.
Refilling, Bleeding, and Adding Inhibitor
Once all radiators have been flushed:
- Reconnect everything. Refit any radiators you removed. Reconnect the valve unions. Make sure all valve nuts are tight.
- Open all radiator valves — both TRV/wheel head and lock shield on every radiator.
- Refill the system. On a sealed system (combi or system boiler), use the filling loop to bring the pressure up to 1–1.5 bar. On a gravity-fed system, the header tank in the loft will refill automatically.
- Bleed every radiator starting from the ground floor and working up. Open each bleed valve until water (not air) comes out, then close it. If you’ve kept the system mostly full during the flush, there should be minimal air to remove.
- Check the boiler. Some boilers have their own air vents that may need bleeding after the system has been disturbed. Check the manual or look for a bleed point on the pump or heat exchanger.
- Turn the heating on. Run the system up to temperature and check for leaks at every valve union you’ve disturbed.
Add inhibitor — this is not optional
A freshly flushed system is clean bare metal with no chemical protection. If you don’t add corrosion inhibitor, the sludge will be back within a year. Inhibitor coats the internal surfaces of the radiators and pipes, dramatically slowing the corrosion that creates sludge in the first place. Add the correct dose for your system volume immediately after refilling. Our guide to adding inhibitor through a radiator covers the process step by step.
DIY Flush vs Professional Power Flush
A mains water flush using your outside tap works well for systems with moderate sludge. But it has limits:
- Mains pressure is typically 2–4 bar. That’s enough to shift loose sludge and suspended particles, but hardened deposits in the bottom of radiators or compacted sludge in long horizontal pipe runs may not shift.
- No chemicals. A mains flush relies on water volume and pressure alone. Professional power flushes use chemical cleaning agents that break down magnetite (iron oxide sludge) and limescale before flushing it out. This is more thorough on heavily contaminated systems.
- No dedicated pump. A power flush machine generates higher flow rates and can reverse direction rapidly, which is more effective at dislodging stubborn deposits.
When a DIY mains flush is enough: the system has cold spots but the water coming out clears up within a couple of minutes per radiator. The sludge is moderate and loose.
When you need a professional power flush: the radiators are heavily sludged (drain water stays black for more than five minutes), the boiler is kettling badly, you’re installing a new boiler on an old system (most boiler manufacturers require a flush as a warranty condition), or the system hasn’t been touched in 15+ years.
Fit a magnetic filter afterwards
Once the system is clean, fitting a magnetic filter (like a MagnaClean or Adey) on the return pipe near the boiler is the single best thing you can do to keep it clean. The magnet catches iron oxide particles before they circulate and settle. Combined with inhibitor, a magnetic filter means the sludge problem doesn’t come back. It’s a one-time fit that protects the boiler, pump, and radiators for years.