How to Fix a Leaking Stopcock
A leaking stopcock is probably the most common plumbing leak in the country. Every house has one, they're always in an awkward spot under the kitchen sink or behind a cupboard, and most people don't notice they're dripping until there's mould on the wall or the base of the cabinet is rotten. The good news: it's one of the easiest fixes in plumbing. You need an adjustable spanner and some PTFE tape. That's it.
Finding Where It's Leaking
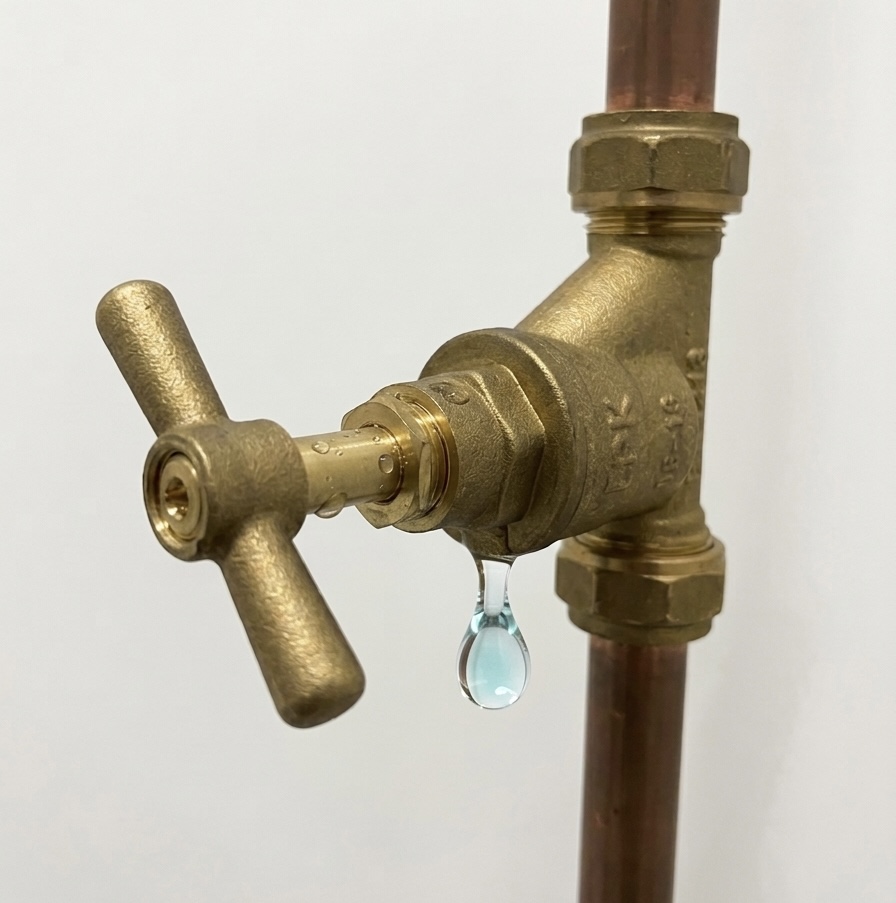
A stopcock can leak from two places. Before you start fixing anything, you need to know which one. Water runs downhill, so a leak from the top of the stopcock will drip down the body and make it look like the bottom is leaking.
Dry the stopcock completely with a cloth. Then run your finger along the shaft just below the handle. If water appears above the body of the valve — around the shaft where it enters the brass body — it's the gland packing. If water appears around the join between the upper and lower halves of the valve body itself, it's the body thread.
Quick test
Press your finger firmly on the shaft just above the body of the stopcock. If the drip stops when you press and starts again when you release, the leak is from the gland — your finger is temporarily blocking the path the water is taking. This tells you it's leak 1.
Leak 1: The Gland Packing (Most Common)
Nine times out of ten, this is the one. The gland is a small nut at the top of the valve body, just below the handle. Inside it there's packing material — string, graphite rope, or rubber — that forms a seal around the shaft to stop water escaping up past it. Over time the packing compresses, dries out, or degrades, and water starts seeping through.
Try the quick fix first: tighten the gland nut
- Get an adjustable spanner on the gland nut — the hexagonal nut just below the handle.
- Give it a quarter-turn clockwise. That's all — a quarter-turn.
- Wipe the area dry and wait a minute. If the drip has stopped, you're done.
This works about half the time. You're compressing the existing packing a bit more, which tightens the seal. If it works, great — job done in 30 seconds.
If tightening didn't work: repack the gland
You don't need to turn the water off for this. The gland is above the water line, so you can work on it with the mains on. You'll get a bit of water seepage while the gland nut is off, but it's manageable with a cloth underneath.
- Undo the gland nut fully and slide it up the shaft, out of the way.
- If the handle has a screw on top, remove the screw and take the handle off — this gives you better access to the shaft. Not all stopcocks have removable handles.
- You'll see the old packing around the shaft inside the gland cavity. You can leave it in place — there's no need to remove it.
- Take about 15–20cm of PTFE tape and roll it into a thin string between your fingers. Don't use it flat — you want a rope-like strand.
- Wrap the PTFE string around the shaft, pushing it down into the gland cavity on top of the old packing. Two or three wraps should be enough.
- Use a small screwdriver to push the PTFE down firmly into the cavity so it's seated below the level where the gland nut threads on.
- Thread the gland nut back on and tighten it. It might be stiffer to start than before because there's more packing in there now — that's what you want.
- Wipe dry and check. The leak should be gone.
Why PTFE and not string?
Traditional gland packing is greased string or graphite rope. PTFE tape works just as well because it's inert (won't corrode or degrade), it's slightly slippery (so the shaft still turns smoothly), and everyone has a roll in the house. Rolling it into a string gives it enough bulk to fill the gland cavity. It's the same principle as repacking a radiator valve gland — identical technique, different valve.
Leak 2: The Body Thread (Less Common)
This is the join between the upper section (the part with the handle and shaft) and the lower body of the valve. It's a threaded connection with a fibre or nylon washer between the two halves. If this washer fails or the thread loosens, water leaks from the seam around the body.
You need the water off for this one
Unlike the gland repair, you cannot do this with the mains on. The body thread is below the waterline — if you undo it with pressure behind it, you'll have mains water spraying out. Turn off the water at the external stopcock (usually in the pavement outside your property, under a small metal or plastic cover) before starting. Run a tap inside to confirm the water is off.
How to fix it
- Turn off the water at the external stopcock in the street or driveway.
- Open a tap indoors to drain residual pressure and confirm the supply is off.
- Using an adjustable spanner, undo the upper section of the stopcock by turning it anti-clockwise. It unscrews from the lower body like any threaded fitting.
- Lift the upper section (handle, shaft, gland) out of the body. You'll see a washer sitting on the thread — either fibre or nylon.
- Option A: replace the washer. Fibre washers for stopcocks are available from any plumbing supplier for a few pence. Take the old one with you to match the size.
- Option B (quick fix): if you can't get a new washer right now, wrap PTFE tape around the thread — 6 to 8 wraps, clockwise when looking at the end. This seals the thread enough to stop the leak until you can get a replacement washer.
- Thread the upper section back into the body and tighten with the spanner.
- Turn the external stopcock back on. Check for leaks.
What to Do If the Stopcock Is Stiff
After repacking the gland, the stopcock may be stiffer to turn than before. That's normal — there's more packing material creating friction on the shaft. Work it back and forth a few times (open and close fully, repeat) and it'll loosen up.
If the stopcock was already stiff or seized before you started, that's a separate issue. Stopcocks that sit in one position for years without being turned can seize from limescale and corrosion. Don't force a seized stopcock with pliers or a wrench — you can snap the shaft or crack the valve body, which turns a minor leak into a major flood.
Leave it a quarter-turn off fully closed
Once the stopcock is fixed and working, close it most of the way and then open it back a quarter-turn. This slight opening means if the valve ever seizes in position, you've still got enough movement to free it. A stopcock seized in the fully open position is a problem if you ever need to turn the water off in an emergency.
If your stopcock is completely seized and you can't turn it at all, it needs replacing rather than repairing. That's a bigger job that involves turning off the external supply, cutting the old valve out, and fitting a new one — worth getting a plumber in for.